Remove Truck Side Molding
On this page I will break down "remove truck side molding" into bite size bits so you can see the process first hand.
Without a doubt there are endless resources willing to dissect the truck side molding removal process. On my own YouTube channel I walk anyone willing to watch how I debadge a car or truck.
But this is often an oversimplification.
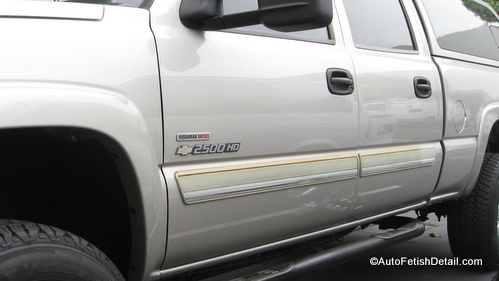
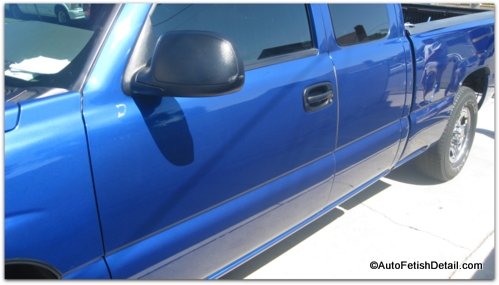
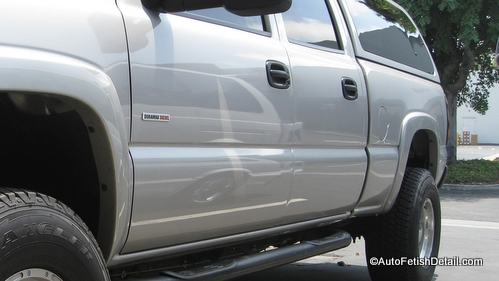 Notice how much younger and cleaner this truck now looks with the discolored rub rails removed.
Remove Truck Side Molding:
They are called Experts for a reason!
Isn't that the beauty of being an expert at anything; the ability to perform a task that appears effortless and precise.
But often videos and pictures can be a disservice for people such as yourself that are perhaps looking to remove the side moldings or rub rails off your truck or SUV.
I am a big fan of removing these add-ons in virtually every situation. Whether you have aging rub rails that make your truck look its age or older, or simply to remove them off a new truck to "clean up" your trucks appearance matters not.
There are numerous reasons any truck or SUV owner may choose to remove these embellishments that will eventually age:
- Remove discolored side door moldings to take years off the appearance.
- Remove to clean up the overall appearance of your truck or SUV.
- With the side moldings removed, now washing, polishing, waxing, and detailing your truck or SUV just became that much easier.
- Separates your particular truck or SUV from the other versions on the road.
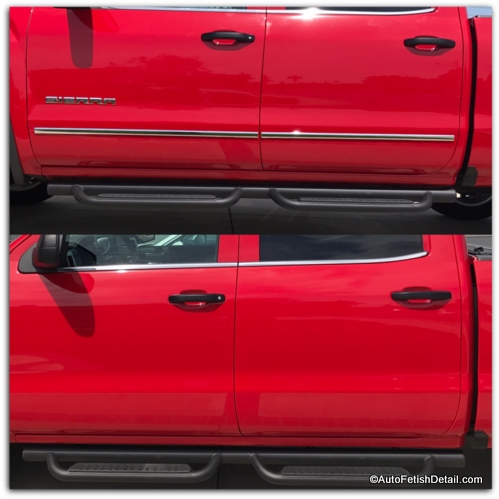 This is a brand new GMC truck that the owner wanted to remove all stock badges and rub rails for a custom and cleaner appearance.
Remove Truck Side Molding Steps:
Every step along the process of debadging a truck or removing the side rail, moldings, rub rails is the same and presents opportunity for success or accidents.
The simple rule at the foundational level are twofold:
- The older your truck is the harder the process will be.
- The darker the color the more caution you have to apply.
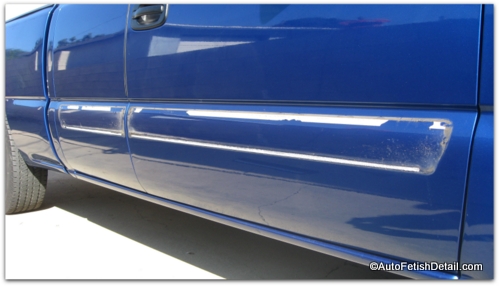
Step 1: Remove rub rail/side moldings (many names for these add on embellishments)
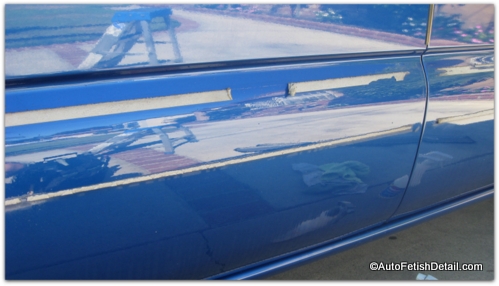
The picture above shows the dried out double sided tape used to secure the rub rails to the side of the vehicle. This is how most of the side moldings/rub rails are secured on trucks, SUV's, and cars.
Since they are large in size when compared to the smaller emblems and badges I remove so often, you can literally pull up any edge and start pulling them off.
Step 2: Remove double sided tape
This is exactly the point where things start going wrong for the inexperienced and impatient. Unless you have the right tool to remove this, you will be required to remove it manually with your fingers or hands.
This will prove to be very slow and painful. And this is exactly where guys become frustrated and start reaching for tools that cause damage. Once the damage has been initiated, guys then become even more frustrated and hasty in their actions....which only ensures additional damage.
It's a vicious cycle!
Step 3: Remove residual adhesive.
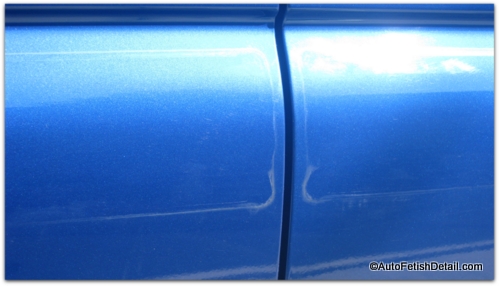
This picture does not actually show residual adhesive that will always be left behind once you remove the double sided tape. Just know that there will be residual adhesive and this is where much damage in the form of scratches and abrasions will be put into the paint when guys use ineffective adhesive removers and are required to rub excessively to remove all adhesive.
The picture does show the ring or shadow that will be required to be polished away. It is possible to polish this ring by hand with aggressive compound, but will prove very difficult without the use of a car buffer and correct compound/polishes.
Step 4: Polish to perfection.
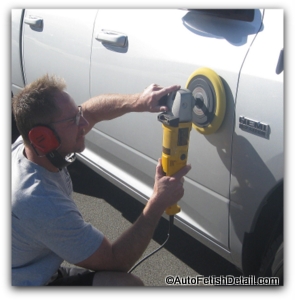
As stated above, there will always be a wear pattern around the old side molding perimeter that will be etched into the paint. And this is one of the reasons that the older and darker in color the vehicle is, the more challenging the remove truck side molding will be.
In Conclusion:
Either this article has dissuaded you from removing the side door molding from off your vehicle. or it has given you additional pointers to take into consideration.
If you are looking to do it yourself, you can see removing car emblems. If you are looking to have a professional like me perform this job, you can use the number located at the top or bottom of the page to shoot me a text and we can go from there.
This remove truck side molding page has hopefully helped you become a more informed person in which to make better decisions!
Sincerely,
Darren Priest
|
|

